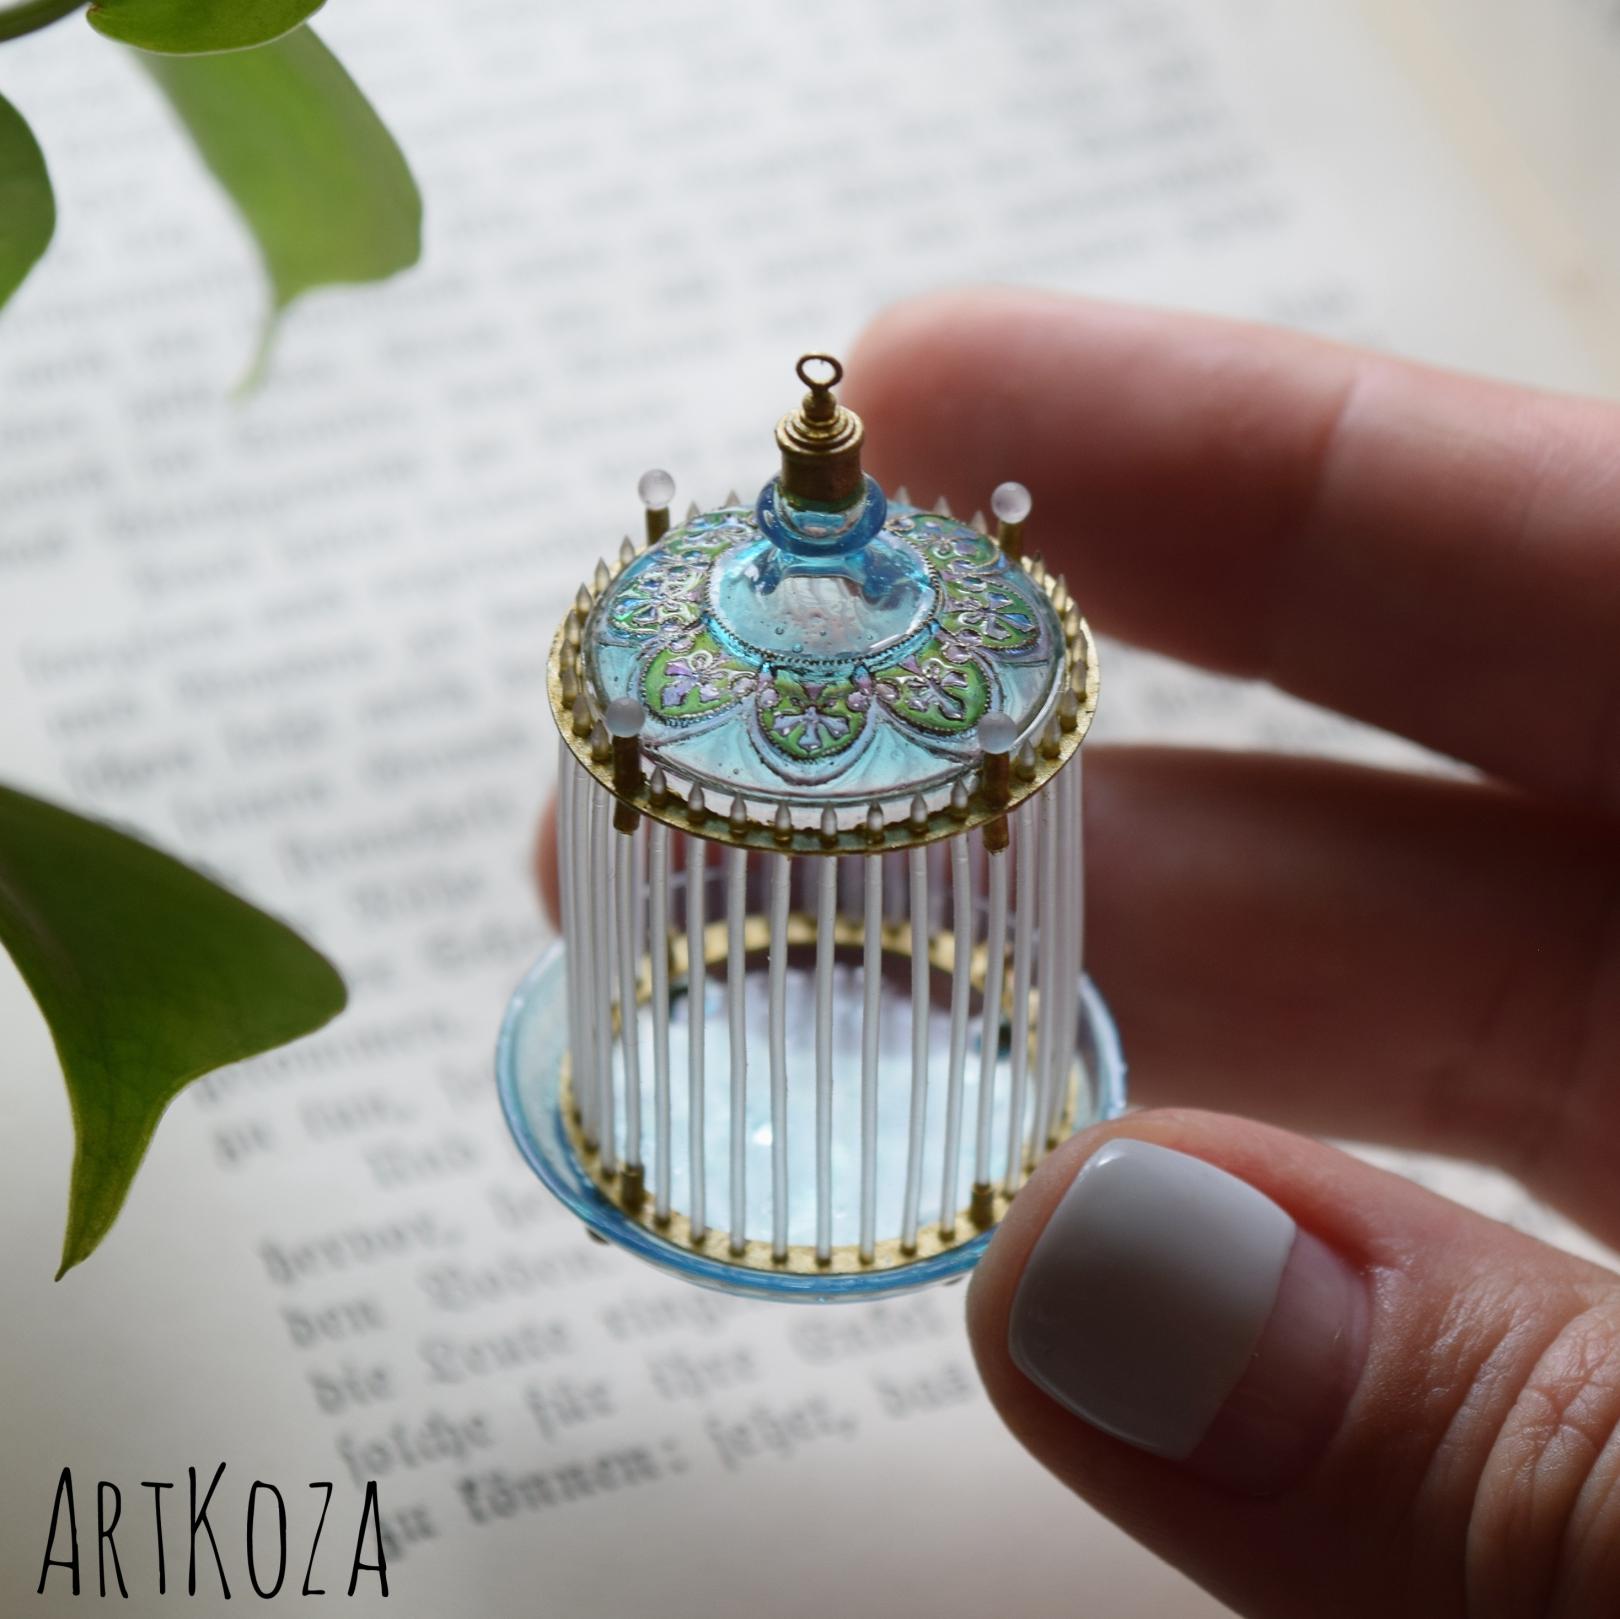
DYI kit Italian birdcage 3D (with pattern)
miniature DIY kit for all
A work from the series "Imprisoned Nature".
This is 3d copy of the original fine miniature birdcage replica of a birdcage from early 19th century.
You can decorate it to your liking.
PRODUCT SPECIFICATIONS
- Scale 1:12
- Size 1.18" x 1.18" x 1.95" (30x30 mm, hight 50 mm)
- It's packed in the nice acrylic box
MATERIALS
- Resin
DIY TUTORIAL
The product doesn't require any preparation. You can immediately apply a colouring layer.
You can use any paints except watercolours. Transparent and metallic dyes look most spectacular. I use UV resin.
For the patterned cage, I prefer to colour the contours first with permanent metallic or contrasting paints. You can use markers with a thin tip. If you use a non-permanent, just fix it with a top coat at the end.
If the paint gets inside the pattern, use a toothpick with a piece of tissue and alcohol or remove it with a thin blade.
Fill the pattern between the outline with care, use a magnifying glass. Take as little paint as possible on the tip of a sharpened toothpick or needle. If you are using UV resin, use a lamp to fix each element immediately after filling.
When the paint is dry - never rush! Give it 24 hours. Then use a glossy top coat in a spray. I use Mr. HOBBY but any analog will do.
Choose varnishes marked UV protection. Apply the varnish in thin layers from a distance of 20-25 cm. 1 or 2 coats suffice, don't forget to dry it between.
Estimated working time is 1-2 hours for a cage without a pattern and 4-5 hours with a pattern.
If you have any questions - just contact me!
USAGE
Collectible accessories for decor interiors, dollhouse interiors, roomboxes, fairy gardens or for dolls: Barbie, Blythe, Middie, Petite, Obitsu, Puki.
Not a toy. Keep dry. Protect from direct sunlight.
